How to Build a Bat Box with DIY Instructions
Got bats?
If conditions permit, adding a bat box to the garden is a great way to invite our flying friends into a safe home. It is a project that requires some basic carpentry skills, but once you’re finished, it is such a rewarding experience.
These shelters need to be placed in a sunny location, but not too sunny. East-facing is usually best, where it will get morning light while being protected from afternoon sun.
The nocturnal wildlife that we have in mind need to have a source of water and a safe location that is out of reach of local predators. Once you’ve built yours and set it up, maintenance is minimal.
We link to vendors to help you find relevant products. If you buy from one of our links, we may earn a commission.
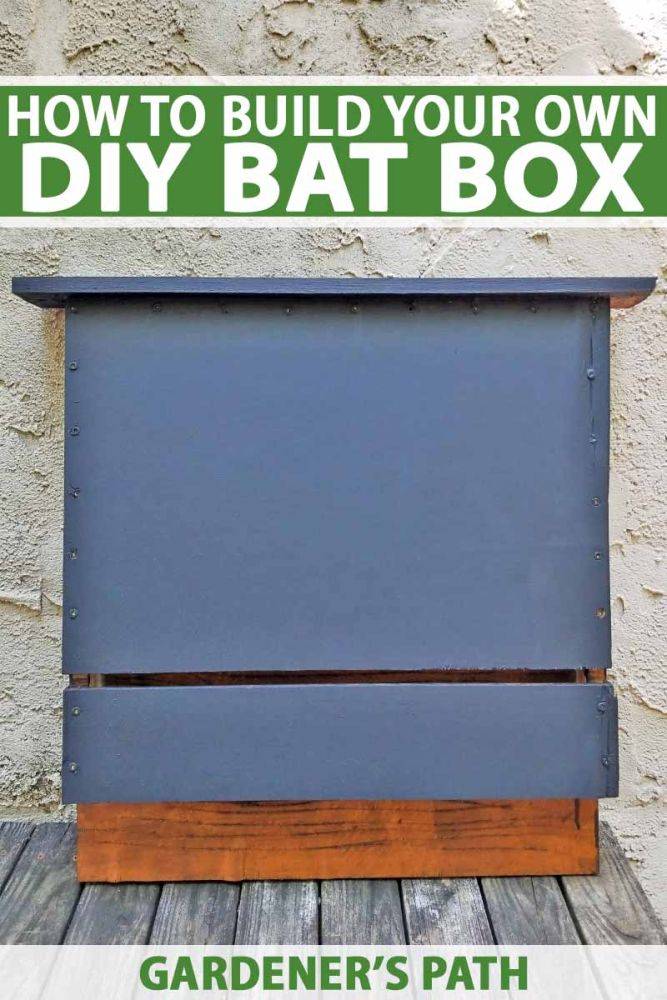
The following is a simple design, but it can serve to provide a home for those in need of one. Construction is simple, but take your time and remember – measure twice and cut once!
To prove to our readers that this project can be finished with minimal supplies, I nixed the use of all power tools except for a simple battery-powered drill.
I used a handsaw and other basic hand tools instead of a circular saw, since the basic home tool shed likely does not include one. Even with bare bones tools, you can finish this project, too!
How to Build Your Own DIY Bat HouseRequired MaterialsOne (1) 2’ x 4’ x ½” outdoor-grade solid board or plywood (nontoxic) One (1) piece of 1” x 2” x 8’ cedar One (1) 1” x 4” x 28” cedar or pine board Twenty-five (25) 1½” coated deck screws (you’ll have extras) One (1) pint dark (brown or black) nontoxic water-based waterproof exterior stain One (1) pint water-based exterior primer (optional) One (1) quart dark Read more on gardenerspath.com


