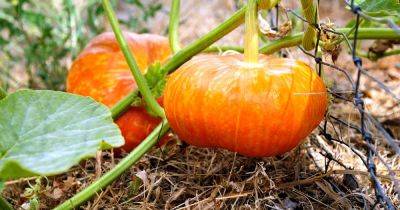
How to Grow Your Own Pumpkins
Just like Linus from Peanuts, I’ve always searched for the Great Pumpkin… well, a great pumpkin, anyway!
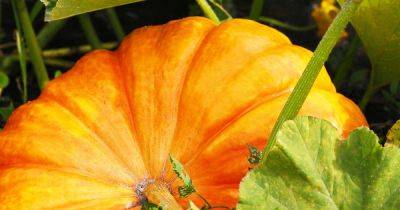
I admit an utter fascination with state and county fairs where farmers show off their freakish and massive pumpkins.
Something about the dedication it takes to grow one of those misshapen monstrosities inspires me to give it a shot on my own.
We link to vendors to help you find relevant products. If you buy from one of our links, we may earn a commission.
The bit of success I’ve had has taught me a thing or two about growing pumpkins.
Here’s what ahead in this article:
Let’s get to it!
Planning for Your Pumpkin PatchPumpkins typically are at their best in USDA Hardiness Zones 3-9, and they prefer soil that is slightly acidic to neutral in its pH. We’re talking an ideal pH of 6 to 7.0.
If you’re not sure about the composition of your soil, you can do a soil test.
In fact, the best way to guarantee success is to start prepping your pumpkin patch right away. A good, solid year of preparation is just what the soil needs to ensure the productivity of your patch.
You’ll want your growing area to be in a location that gets lots of sun, though they can tolerate some light shade.
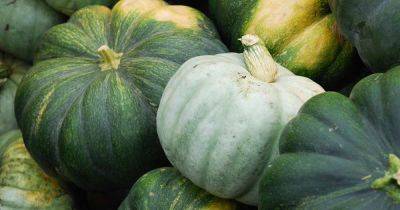
You should plan to space the mounds about four to eight feet apart, and on average you’ll be able to fit two or three plants per mound, depending on the cultivar that you select. Smaller varieties will take up less space.
Start with finding a location where you can let your vines grow with abandon – and keep in mind that you can get creative with it.
I’ve seen people grow pumpkins in their front perennial beds to have built-in autumn decor ready for Halloween. Those long runners of vines can be cut and removed to free up
Read more on gardenerspath.com


