This DIY Reed Diffuser Is Here to Personalize Your Home Scent
We are constantly aiming to make our homes smell welcoming and warm without being overpowering. This leads our cabinets to overflow with candle collections or a constant simmering pot always on the stovetop.
Candles can get expensive, and DIYing them can be time-consuming and difficult. That’s why we love oil diffusers, but, again, they can get expensive to repurchase time and time again.
We might have found the solution scrolling on our feeds recently. We came across this DIY reed diffuser project, which we hearted and saved immediately. It's another way to get that perfect scent without spending big bucks.
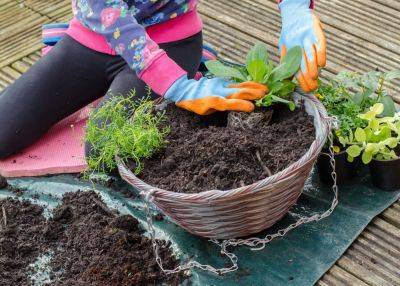
Katie McGinn, a garden coach and wildcrafter (@urbantaproots on Instagram) posted this project showing her viewers and followers exactly how to create it.
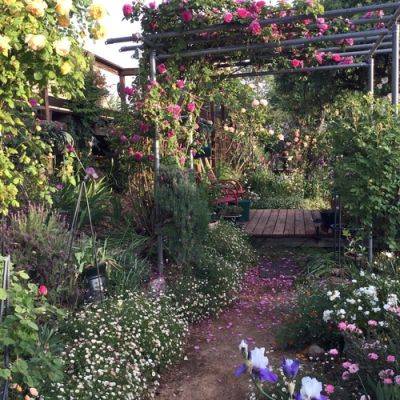
This DIY is super simple, will make your house smell exactly how you want it, and will bring in some floral accents you love most.
Getty Images
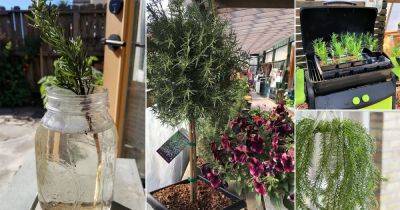
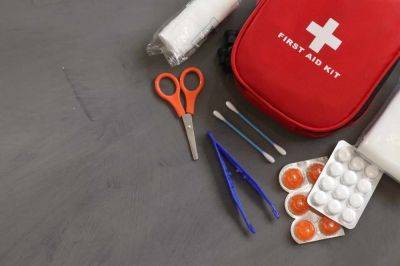
To make the DIY oil diffuser, you’ll need a bottle with a narrow neck, carrier oil, the essential oil of your choice, a small funnel, and reeds.
The narrow neck of the bottle is essential to make sure too much of your oil doesn’t evaporate too quickly. The carrier oil is needed as the base of your diffuser to expand the scent of your essential oils; the essential oils pack all of your scent. The small funnel will help you put it all together without creating too much of a mess, and the reeds will help disperse the scent properly.
There are plenty of places to buy essential oils, both online and in person, and they have plenty of uses beyond scent. For this project, you’ll start with your base.
Add about half a cup of carrier oil to a glass jar. McGinn uses almond oil but, if you live in a nut-free house, you can
Read more on thespruce.com


